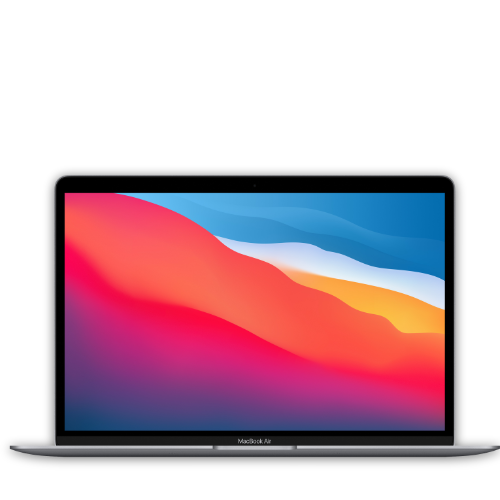
Congratulations on your new MacBook! Getting a new laptop is always exciting, especially when it's a MacBook, which is known for its user-friendliness and high quality. Whether you're upgrading from an older Mac, another machine, or setting up your first MacBook ever, this guide will help you step by step through the entire process.
In this guide, you'll learn everything you need to know to set up your new Apple MacBook quickly and easily. From the initial preparations to data transfer and configuration of important functions - we'll guide you through every step. This way, you can ensure that all of your important data and settings are transferred and that your new device works exactly as you want it to.
Let's get started together and set up your new Mac!
Preparation
Before configuring, check that you have the following ready:
- Wi-Fi and the corresponding password to connect your Mac to the Internet
- Apple ID and password. If you don't have an Apple ID yet, you can create one during setup
- Your old laptop or a backup of the important data
MacBook configuration
- Turn on MacBook:
- Open your Mac and it will turn on automatically. If not, plug it into the power adapter and charge it for a few minutes.
- Select language and region:
- Choose your preferred language and region.
- Wi-Fi connection:
- Connect to your Wi-Fi network.
- Set up Apple ID:
- Sign in with your Apple ID or create a new one.
- Transfer data:
- Transfer data from your old MacBook or PC
- Setting up MacBook security:
- Set up a secure password and Touch ID
- System settings:
- Customize system settings to your liking, including screen brightness, True Tone, and automatic login.
Switching from Windows to MacBook
To switch from a Windows PC to a MacBook, follow these steps:
- Install the Windows Migration Assistant on your PC.
- Close all open programs and start the Migration Assistant.
- Follow the instructions to transfer data to your Mac.
You can find more details on the Apple support page.
Once all settings have been made, tap "Let's Go". Your MacBook is now fully set up and ready to use. Have fun!

